Views: 0 Author: Site Editor Publish Time: 2026-07-01 Origin: Site
Navigating the lamination process often feels surprisingly tricky for beginners and seasoned professionals alike. Many operators encounter frustrating paper jams or bubbling right when they need a perfectly clear finish. Improper lamination directly leads to wasted consumable materials and permanently damaged original documents. It also causes significant equipment downtime when melted adhesive builds up on internal heated rollers. Overcoming these expensive hurdles requires more than just pressing a start button and hoping for the best.
We designed this comprehensive guide to deliver a standardized, step-by-step operating procedure tailored for your daily production workflow. You will discover exact calibration techniques for achieving perfect adhesion, eliminating trapped air pockets, and extending your equipment’s lifespan. We will also explore how matching the correct machine technology—ranging from basic desktop units to advanced industrial hardware—ensures flawless, repeatable results across any production scale.
Successful lamination requires aligning pouch/film thickness with the precise thermal settings of your specific machine.
Routine maintenance and proper feeding techniques eliminate 90% of common jamming and bubbling issues.
Scaling operations requires transitioning from standard pouch machines to specialized equipment like an Electric Heating Laminating Machine or a Solventless Laminating Machine.
Thermal safety and standard operating procedures (SOPs) are critical for preventing workplace injuries and equipment burnout.
Defining your specific business requirement is the critical first step before turning on any device. You must match your daily production volume and material types to the correct technology to prevent operational bottlenecks. When you force a low-volume device to perform continuous, high-volume encapsulation, you risk motor burnout and inconsistent thermal application.
These compact devices are best for low-volume, rigid document protection in offices or small print shops. They operate using pre-sized plastic pouches, heavily relying on standardized film thicknesses. Most desktop units seamlessly handle materials ranging from 3-mil to 10-mil. Because they rely on fixed heat zones, they require significant recovery time between passes to maintain the correct operating temperature.
Educational institutions and commercial print facilities rely on roll laminators for continuous, high-volume tasks. They use two continuous rolls of thermal film to encapsulate wide-format materials or long runs of standard documents. Operating them requires distinct threading protocols. You must properly set the tension controls to prevent the film from stretching, wrinkling, or misaligning before it enters the heated nip rollers.
When B2B production demands outgrow manual feeding, facility managers must evaluate industrial solutions. If your operation experiences rapid scaling, you should implement an Electric Heating Laminating Machine for consistent thermal distribution across medium-to-high commercial runs. These units maintain exacting heat tolerances across wide material webs, ensuring no cold spots ruin the finish.
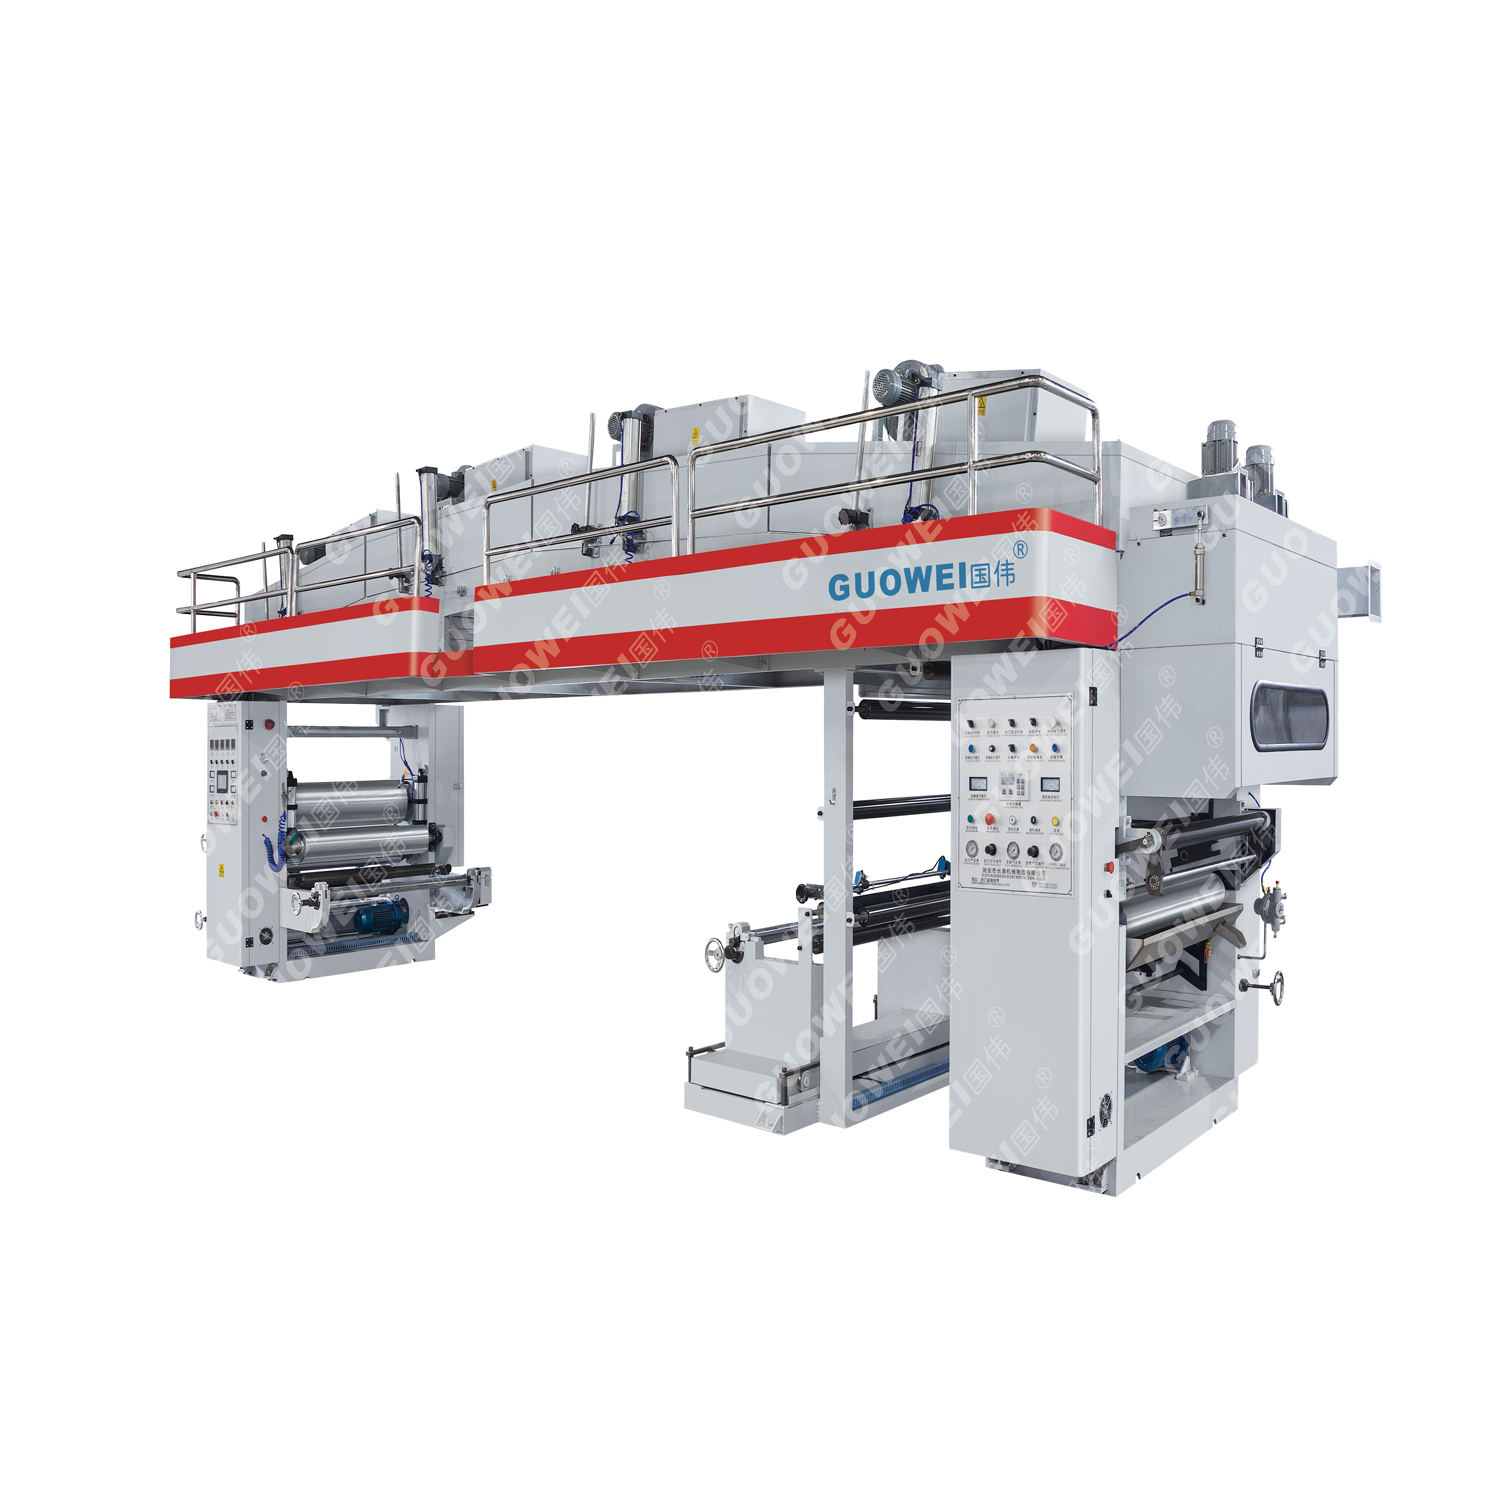
For flexible packaging or large-scale manufacturing, traditional thermal methods often fall short. You must identify when specialized hardware is required to meet modern environmental compliance and high-yield production metrics. Upgrading to a GF-K High Speed Dry Laminating Machine provides extreme throughput for complex multi-layer packaging. Alternatively, deploying a Solventless Laminating Machine entirely eliminates harmful VOC emissions, safeguarding workplace air quality while reducing energy consumption.
Equipment Category | Ideal Production Volume | Primary Application | Key Operational Constraint |
|---|---|---|---|
Desktop Pouch | Low to Medium (1-50 items/day) | ID cards, menus, certificates | Requires heat recovery time between feeds |
Roll Laminators | Medium to High (Continuous) | Posters, wide-format prints, maps | Complex threading and tension calibration |
Industrial Dry/Solventless | Mass Manufacturing (B2B) | Flexible packaging, food-safe films | Requires specialized operator training |
Proper preparation separates a flawless finish from a ruined document. A standardized pre-operation checklist ensures consistent thermal activation and protects both the operator and the machinery.
You must place your laminating machine on a perfectly flat, stable, and heat-resistant surface. Avoid placing it near air conditioning vents, as cold drafts can disrupt the external temperature of the machine casing and cause uneven heating. Ensure you maintain at least two feet of clear clearance at the exit tray. Freshly heated documents require immediate space to lay flat; if they encounter an obstacle and bend while hot, the plastic will permanently warp.
Selecting the correct film or pouch thickness dictates the final durability of the document. Consider the item's end-use before selecting your supplies.
3-mil to 5-mil: Perfect for standard paper, flyers, and documents requiring flexibility. They fold easily and pass through rollers quickly.
7-mil to 10-mil: Ideal for high-durability items like ID cards, restaurant menus, and luggage tags. They offer rigid, waterproof protection but require substantial heat to seal.
A fundamental rule governs all encapsulation: heat and speed share a strict inverse relationship. Thicker materials absorb heat much slower than thin materials. If you use a heavy 10-mil pouch, you must decrease the roller speed and increase the temperature. Conversely, running a thin 3-mil pouch at those same heavy-duty settings will cause the adhesive to boil, creating terrible bubbling.
Always cross-reference the manufacturer’s heat index chart. Most modern devices feature preset buttons for standard thicknesses, but manual roll machines require precise dial calibration.
Patience during the warm-up phase prevents material loss. You must wait for the specific readiness indicator—usually a solid green light or a distinct beep. Feeding materials prematurely guarantees cloudy, poorly sealed results because the internal ethylene-vinyl acetate (EVA) adhesive fails to reach its melting point.
Execution requires a disciplined approach. Even with perfect calibration, sloppy feeding techniques will cause devastating jams. Follow this sequence to achieve a pristine, edge-to-edge seal.
Preparation of the Document: Open the pouch and center your item inside. You must ensure an even, minimum 1/8-inch margin of clear plastic on all four sides. This border is mandatory. Without it, the top and bottom layers of film cannot touch each other to create a hermetic seal, leaving the document vulnerable to moisture.
The Feeding Process: Pick up the loaded pouch and locate the factory-sealed edge. Always insert this sealed edge into the machine first. This critical technique pushes trapped air out the open back end, entirely preventing bubbles and jams. Hold the pouch by the edges and feed it perfectly straight into the entry slot.
Let the Rollers Work: Once the nip rollers grip the plastic, let go immediately. Do not push, pull, tug, or force the document through the device. Manual interference disrupts the constant speed of the motor, creating visible ridges and rippled tension lines across the surface.
Exit and Cooling Protocol: Allow the completed item to drop into the exit tray completely on its own. Pick it up gently by the edges and place it immediately on a flat, cool surface. Hot film remains highly pliable for several seconds. If you bend or wave it around to cool it faster, the polymers will crystallize in a warped shape.
Trimming: Wait until the item feels completely cool to the touch before attempting any cuts. When trimming excess film, always maintain a small sealed border. Cutting flush to the edge of the original paper breaks the adhesive bond, leading to immediate peeling.
Best Practice: When operating a heavy-duty commercial Laminating Machine, test a blank sheet of paper inside a scrap pouch before running your actual production batch. This simple test run verifies tension, temperature, and speed settings without risking valuable originals.
Even strict adherence to standard operating procedures cannot prevent occasional mechanical or environmental hiccups. Understanding the root causes of common failures allows you to apply rapid, effective corrections.
If your final product looks foggy or features milky patches, the root cause is always insufficient heat. The EVA adhesive did not melt completely to form a clear bond.
Solution: Increase the temperature dial slightly, or decrease the roller speed to allow the material more dwell time inside the heat zone. You can often rescue a cloudy document by running it through the device a second time at a higher temperature.
When documents emerge with localized air pockets, wavy tension lines, or extreme curling, the root cause is excessive heat. The adhesive essentially boiled inside the pouch, off-gassing and creating tiny bubbles.
Solution: Lower the operating temperature or increase the throughput speed. Ensure your equipment is not placed near a heat source. If working with roll films, check your tension knobs; excessive wrinkling indicates the supply roll is feeding too loosely.
Jams represent the most frustrating mechanical failure. The root cause usually involves operator error: feeding the open edge of the pouch first, inserting materials at an angle, or trying to process incompatible items like thick cardboard or metal clips.
Solution: Immediately hit the reverse function to safely back out the trapped material. If your unit lacks a reverse button, look for a manual release lever that separates the internal rollers, allowing you to pull the pouch free. Common Mistake: Never insert scissors, knives, or sharp tools into the machine to cut a jam free. You will easily gouge the silicone rollers, permanently ruining the device.
If the plastic layers separate from the paper days or weeks after processing, the encapsulation was broken.
Solution: The root cause is trimming too close to the document. You must leave a wider margin of clear film (at least 1/8-inch) to maintain the permanent adhesive bond. Additionally, heavy cardstock coated in glossy printer ink sometimes resists thermal adhesion; switching to a specialized high-tack film solves this issue.
Protecting your operational efficiency means treating your hardware as an asset, not a disposable tool. Proactive maintenance preserves consistent performance and dramatically extends the lifecycle of your machinery.
Over time, microscopic amounts of melted adhesive seep out of the pouch edges and stick to the internal rollers. This sticky buildup attracts dust and causes subsequent runs to jam. You should establish a strict protocol for using specialized cleaning sheets. Run a slightly abrasive cleaning sheet through the hot rollers at the end of every heavy production session. The sheet absorbs and removes excess adhesive buildup safely without damaging the delicate silicone coating.
No device lasts forever. You must monitor your equipment for specific mechanical symptoms that signal impending failure. Detail the warning signs for your operators: inconsistent heat zones causing random cloudy patches, loud grinding noises from the gear train, or frequent motor stalling. When a machine consistently fails to reach its target temperature within a standard timeframe, the heating elements are heavily degraded.
When maintenance cannot overcome daily production bottlenecks, it is time to upgrade. Assess whether your current error rates and daily labor costs justify moving from a manual feed device to an automated solution. If your team spends hours babysitting a slow desktop unit, the labor inefficiency vastly outweighs the price of new hardware.
For industrial operators, the business logic shifts toward maximizing output and sustainability. Define the ROI of upgrading your B2B manufacturing lines by analyzing throughput speed and energy efficiency. Transitioning to advanced hardware dramatically cuts down material waste and energy usage per square meter. In demanding packaging sectors, adopting these modern production methods ensures you hit aggressive fulfillment deadlines while passing strict quality control audits.
Mastering how to effectively encapsulate documents is a strategic combination of proper material selection, strict adherence to temperature settings, and highly disciplined feeding techniques. By aligning your hardware’s capabilities with the specific thermal demands of your film, you can entirely eliminate the frustration of bubbles, wrinkles, and cloudy finishes. We highly recommend establishing a clear, written SOP for all employees accessing the equipment; standardizing these steps ensures safety and minimizes expensive material waste. Finally, take a moment to review your current production volume objectively. Evaluate if your current equipment tier is actively supporting your daily output or silently hindering your operational growth.
A: Standard desktop office models typically take between 1 and 5 minutes to reach optimal operating temperatures. However, larger industrial roll models require significantly more time, often taking 15 to 30 minutes to ensure the heavy internal heating shoes or rollers achieve consistent thermal equilibrium.
A: Yes, but you must arrange them carefully. Leave at least a half-inch of space between each small item. If they overlap, or if they sit too close together, the film cannot seal properly around the edges. After processing, carefully cut between the items, leaving a protective plastic border around each one.
A: First, turn off the heat but leave the motor running, and activate the reverse button to back the document out. If it is completely stuck, power off and unplug the device entirely. Engage the manual release lever to separate the heated rollers, then gently pull the material free. Never use sharp tools.
A: Thermal lamination uses high heat to melt an EVA adhesive layer, creating a permanent, rigid bond. Cold lamination relies on pressure-sensitive adhesives, functioning much like heavy-duty tape. Cold methods are exclusively used for heat-sensitive materials, such as thermal printed receipts, glossy photographs, or wax-based inks that would melt under high temperatures.